Van Window Conversions Done Right: Why It Matters
Cutting a factory panel and bonding in glass changes the vehicle’s structure. Done correctly, you gain light, ventilation and resale value. Done badly, you risk panel distortion, water ingress and early corrosion. The difference is proven methods and quality materials.
At Advanced Autoglazing Ltd, ATA‑accredited technicians use factory‑style processes, Pilkington E‑marked glass and OEM polyurethane adhesives. We protect paintwork, seal every edge and leak‑test before handover. With 30+ years in vehicle glazing, you get tidy finishes, predictable cure times and a warranty‑backed job. Speak to our van window conversion specialists for options and pricing.
Choose The Right Glass And Window Design
Decide how you’ll use the van. Fixed glass suits load areas and security. Sliding windows add controllable airflow for passengers, pets and camping.
- Fixed: lower cost; OEM look; fewer moving parts; most secure. Least ventilation.
- Sliding: airflow and easy demist; flexible for camping. Slightly higher cost; keep tracks clean.
UK tint law: the windscreen must let in at least 75% of light; front side windows at least 70%. Rear windows can be darker. We fit factory‑tint privacy glass and, if needed, compliant films. See our window tinting services for guidance.
We recommend Pilkington E‑marked, model‑specific glass with matching trims and seals. Left/right‑specific sliders and correct apertures give a snug fit, no rattles and a genuine factory look.
Step 1: Measure, Mask And Mark With Precision
We use templates that match the van’s pressings, measure from fixed datum points and confirm both sides for symmetry before marking. This keeps the aperture square and true.
Interior trims are removed and any wiring looms or curtain airbags behind the panel are protected. We mask the paint, then scribe a clear, consistent cut line for a factory‑like edge to prevent miscuts, paint damage and leaks.
- Use a rigid template with clamps.
- Verify level and alignment both sides.
- Protect the interior; bag out the cavity.
- Score the line so the tool doesn’t wander.
Step 2: Controlled Cutting For A Factory‑Smooth Edge
Clean cuts need the right tools and pace. We cut steadily on the marked line, control speed and avoid heat build‑up that can scorch paint or warp the panel. We never use grinders that burn edges.
Edges are dressed and de‑burred to remove sharpness and prep for bonding. Swarf is captured with magnets and vacuums, and the cavity is cleared so hidden rust can’t start later.
A neat, stress‑free cut makes bonding stronger, trims sit better and wind noise lower.
Step 3: Rust Treatment That Lasts In UK Weather
We prep the bare metal to bright steel and degrease thoroughly. Then we apply a zinc‑rich or etch primer, followed by colour and top coat to seal the edge fully before bonding.
Seam sealer is used where skins meet, and we inject cavity wax into the inner panel to protect from the inside out. Shortcuts here lead to hidden rust and leaks later.
- Bright metal prep and degrease
- Anti‑corrosion primer
- Colour/top coat and seam seal
- Cavity wax injection
Our long‑term corrosion approach is a key reason van owners choose our specialists.
This image was generated with AI and may not always represent the product or service exactly.
Step 4: Bonding And Curing For Strength And Seal
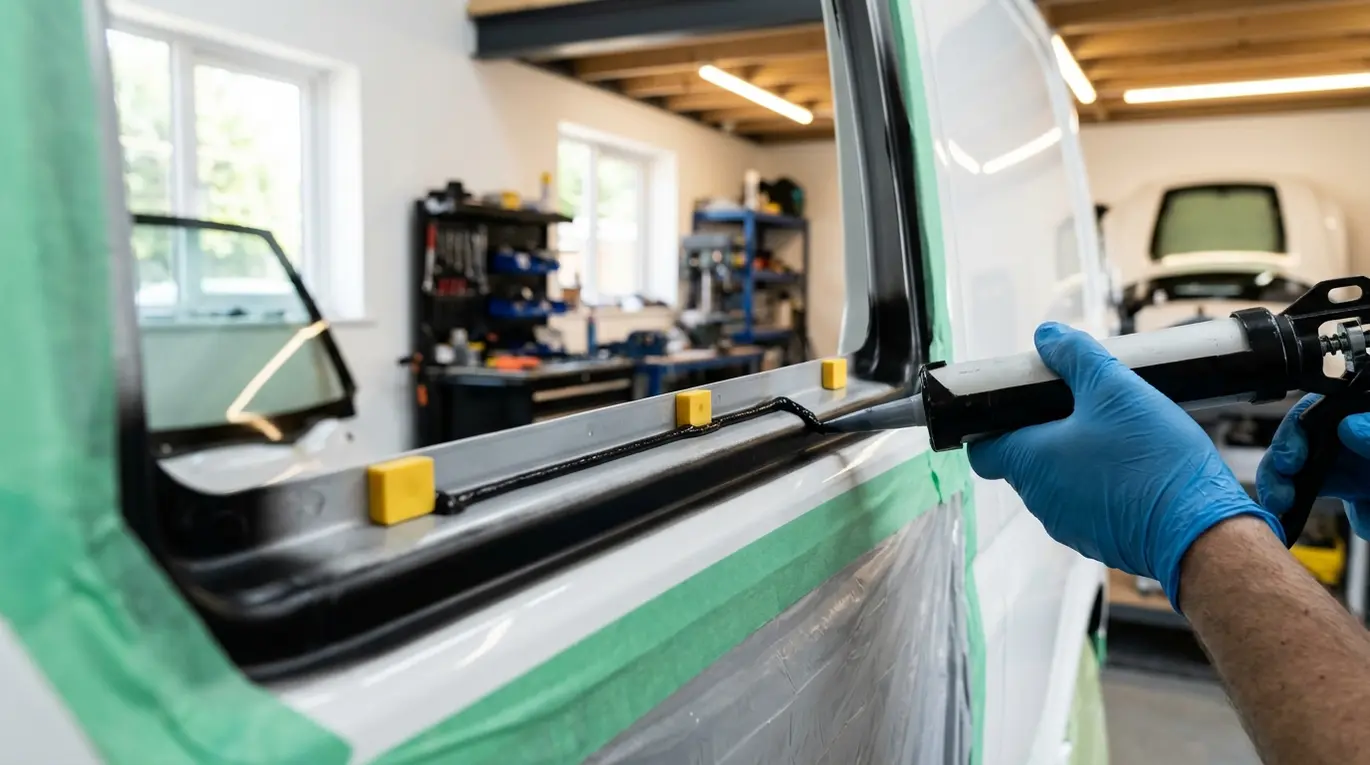
We use OEM‑grade polyurethane adhesives from Loctite. Both body and glass are primed for maximum bond. Depth blocks set the glass at the correct stand‑off for even gaps and a tidy finish.
We apply a continuous, even bead, set the glass, then clamp or tape as required. Safe drive‑away time (SDAT) is explained at handover. Controlled temperature and humidity in our workshop give predictable curing; some mobile fits are possible, but weather can extend cure times.
Our windscreen team follows the same OEM bonding standards. See our windscreen replacement page for how we bond safely with Pilkington glass and Loctite systems.
Step 5: Water Testing And Quality Control
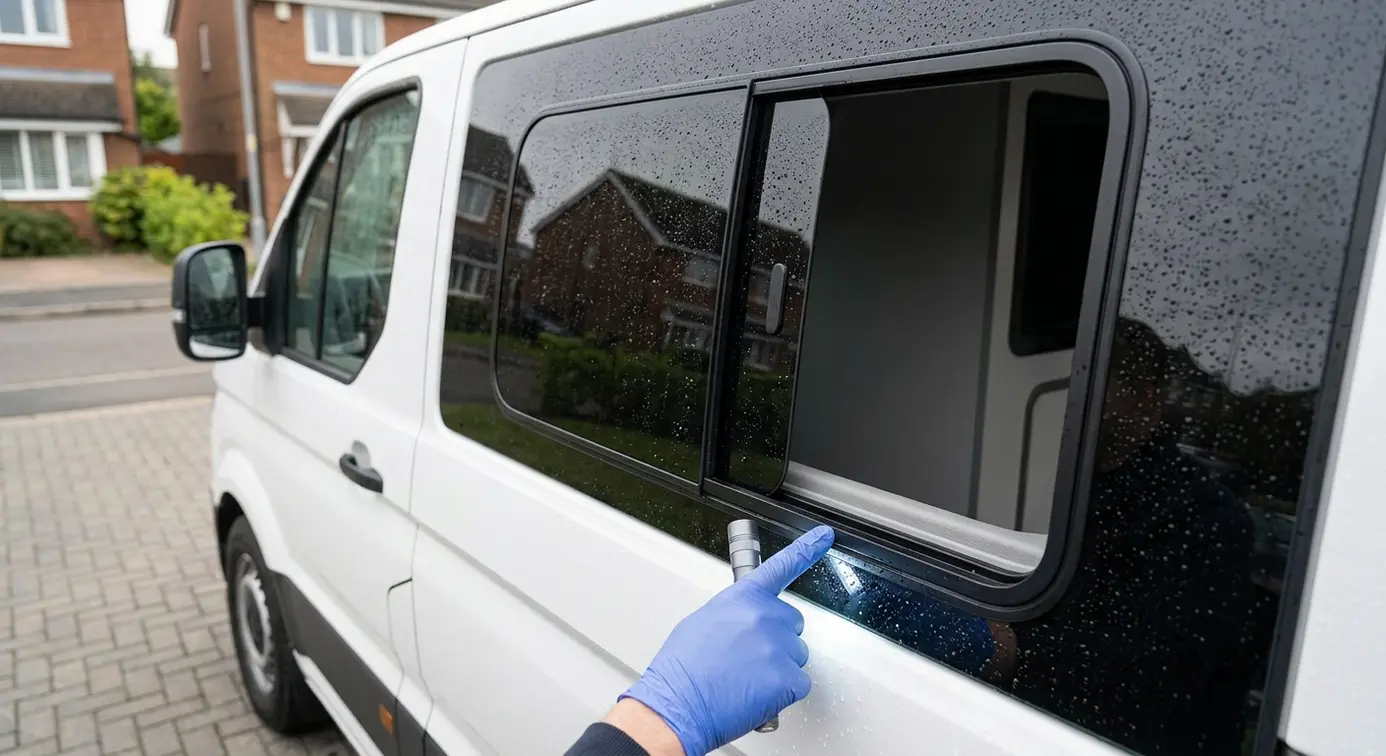
After initial cure, we water‑test with a low‑pressure hose (never a jet‑wash). One technician wets the perimeter while another checks inside with a torch. Any weep is rectified immediately.
We refit trims, clean the glass and tidy the work area. You get clear notes on first wash and curing. Our workmanship is guaranteed for leaks and bond integrity.
At handover we explain what was fitted, care tips and warranty cover.
Insurance And Legal: Tell Your Insurer And Keep Records
Adding windows is a modification. Tell your insurer before or straight after the job. We provide an invoice, photos, glass specifications (E‑mark) and technician credentials so your policy stays accurate.
Simple script: “I’ve added OEM‑spec side windows to my van; please note the modification and confirm my cover remains valid.” Keep our documents with your records.
For MOT, the driver’s view must remain clear and all glazing must be secure and safe. If you need help with paperwork, we can assist via insurance billing for automotive glazing.
This image was generated with AI and may not always represent the product or service exactly.
Timelines, Pricing And What To Expect On The Day
Most single‑window conversions take around 2–4 hours including prep, bonding and initial cure. Twin windows or sliders may take longer. Weather and model design can affect timing; workshop fits are quickest and most consistent.
Your quote is clear and itemised. Typical inclusions:
- Pilkington E‑marked glass (fixed or sliding)
- Trims, rubbers and finishing clips
- Cutting, rust treatment and paint edge seal
- OEM adhesive bonding and water test
Extras may include additional trims, sliders or privacy options. For full transparency, see our repair and replacement pricing guide.
Why Choose Advanced Autoglazing Ltd For Your Conversion
- 30+ years specialising in van glazing and conversions
- ATA‑accredited technicians using factory‑style methods
- Pilkington E‑marked glass and Loctite OEM adhesives
- Paint protection, anti‑corrosion treatment and leak testing
- Fast scheduling, clean workmanship and a solid warranty
We focus on safety, leak prevention and tidy details that last.
Related Services For Van Owners
We support you beyond conversions. Chip repairs help stop cracks spreading and keep you legal. Full windscreen replacement maintains structure and sensor performance. ADAS camera calibration follows windscreen work to restore safety systems. Privacy and security tinting improve comfort, and air‑con recharge keeps the cabin cool on trips.
Ask our team about the best timing for each service alongside your conversion so downtime stays minimal and quality remains consistent.
Get A Fast, Accurate Quote
Send us a few details for a same‑day quote:
- Registration, make/model and year
- Side(s) required and fixed or sliding
- Clear photos of the interior and exterior panel
Same/next‑day bookings are often available. We’ll confirm lead times and fitting location. Start your request via get a quote and check our areas we cover.
FAQs
Will Cutting In Windows Weaken My Van?
Not when done correctly. With proper bonding and rust protection the panel remains strong. We follow OEM‑style methods to maintain integrity and reduce vibration.
How Long Before I Can Wash The Van?
Hand washing with low pressure is fine after the initial cure we confirm at handover. Avoid jet‑washing the window edges for at least 48 hours.
Do Sliding Windows Rattle Or Leak?
Quality sliders with the right trims and alignment stay quiet and watertight. We test every fit and adjust tracks for smooth operation.
Can You Fit Windows To A Leased Or Finance Van?
Yes, but check your agreement. We provide documentation and reversible trim work where possible to satisfy return conditions.
What If I Already Have Damp Inside The Panels?
We’ll assess before cutting, dry the cavity if needed and treat edges thoroughly. Proper sealing and cavity wax help prevent future moisture issues.
Do You Offer Mobile Fitting?
Yes, where conditions allow. For the best curing and quality control, we recommend workshop fitting, especially in cold or wet weather.


